- Home |
- Search Results |
- How to make a picture book
How to make a picture book
Have you ever wondered how to create an utterly showstopping story? Picture book author and illustrator Nadia Shireen takes us through her process, in five easy steps.
Making picture books is a strange old business, readers. It’s a unique little medium. As a picture book author and illustrator, I’ve only got 32 pages to introduce my characters, establish setting, build anticipation, insert a little mild peril and eventually reach some kind of satisfying conclusion. With, hopefully, enough wit and charm along the way to hold the attention of my most skittish young readers.
I’ve not yet evolved into one of those writers with a watertight routine; you know, the ones who can only sit down and create great works if they use a particular pencil/sit in a special chair/pet their lucky ceramic goat three times. I’ve never been hugely organised, but have tried my best to document what one could laughably call my ‘process’
Step 1: Pondering
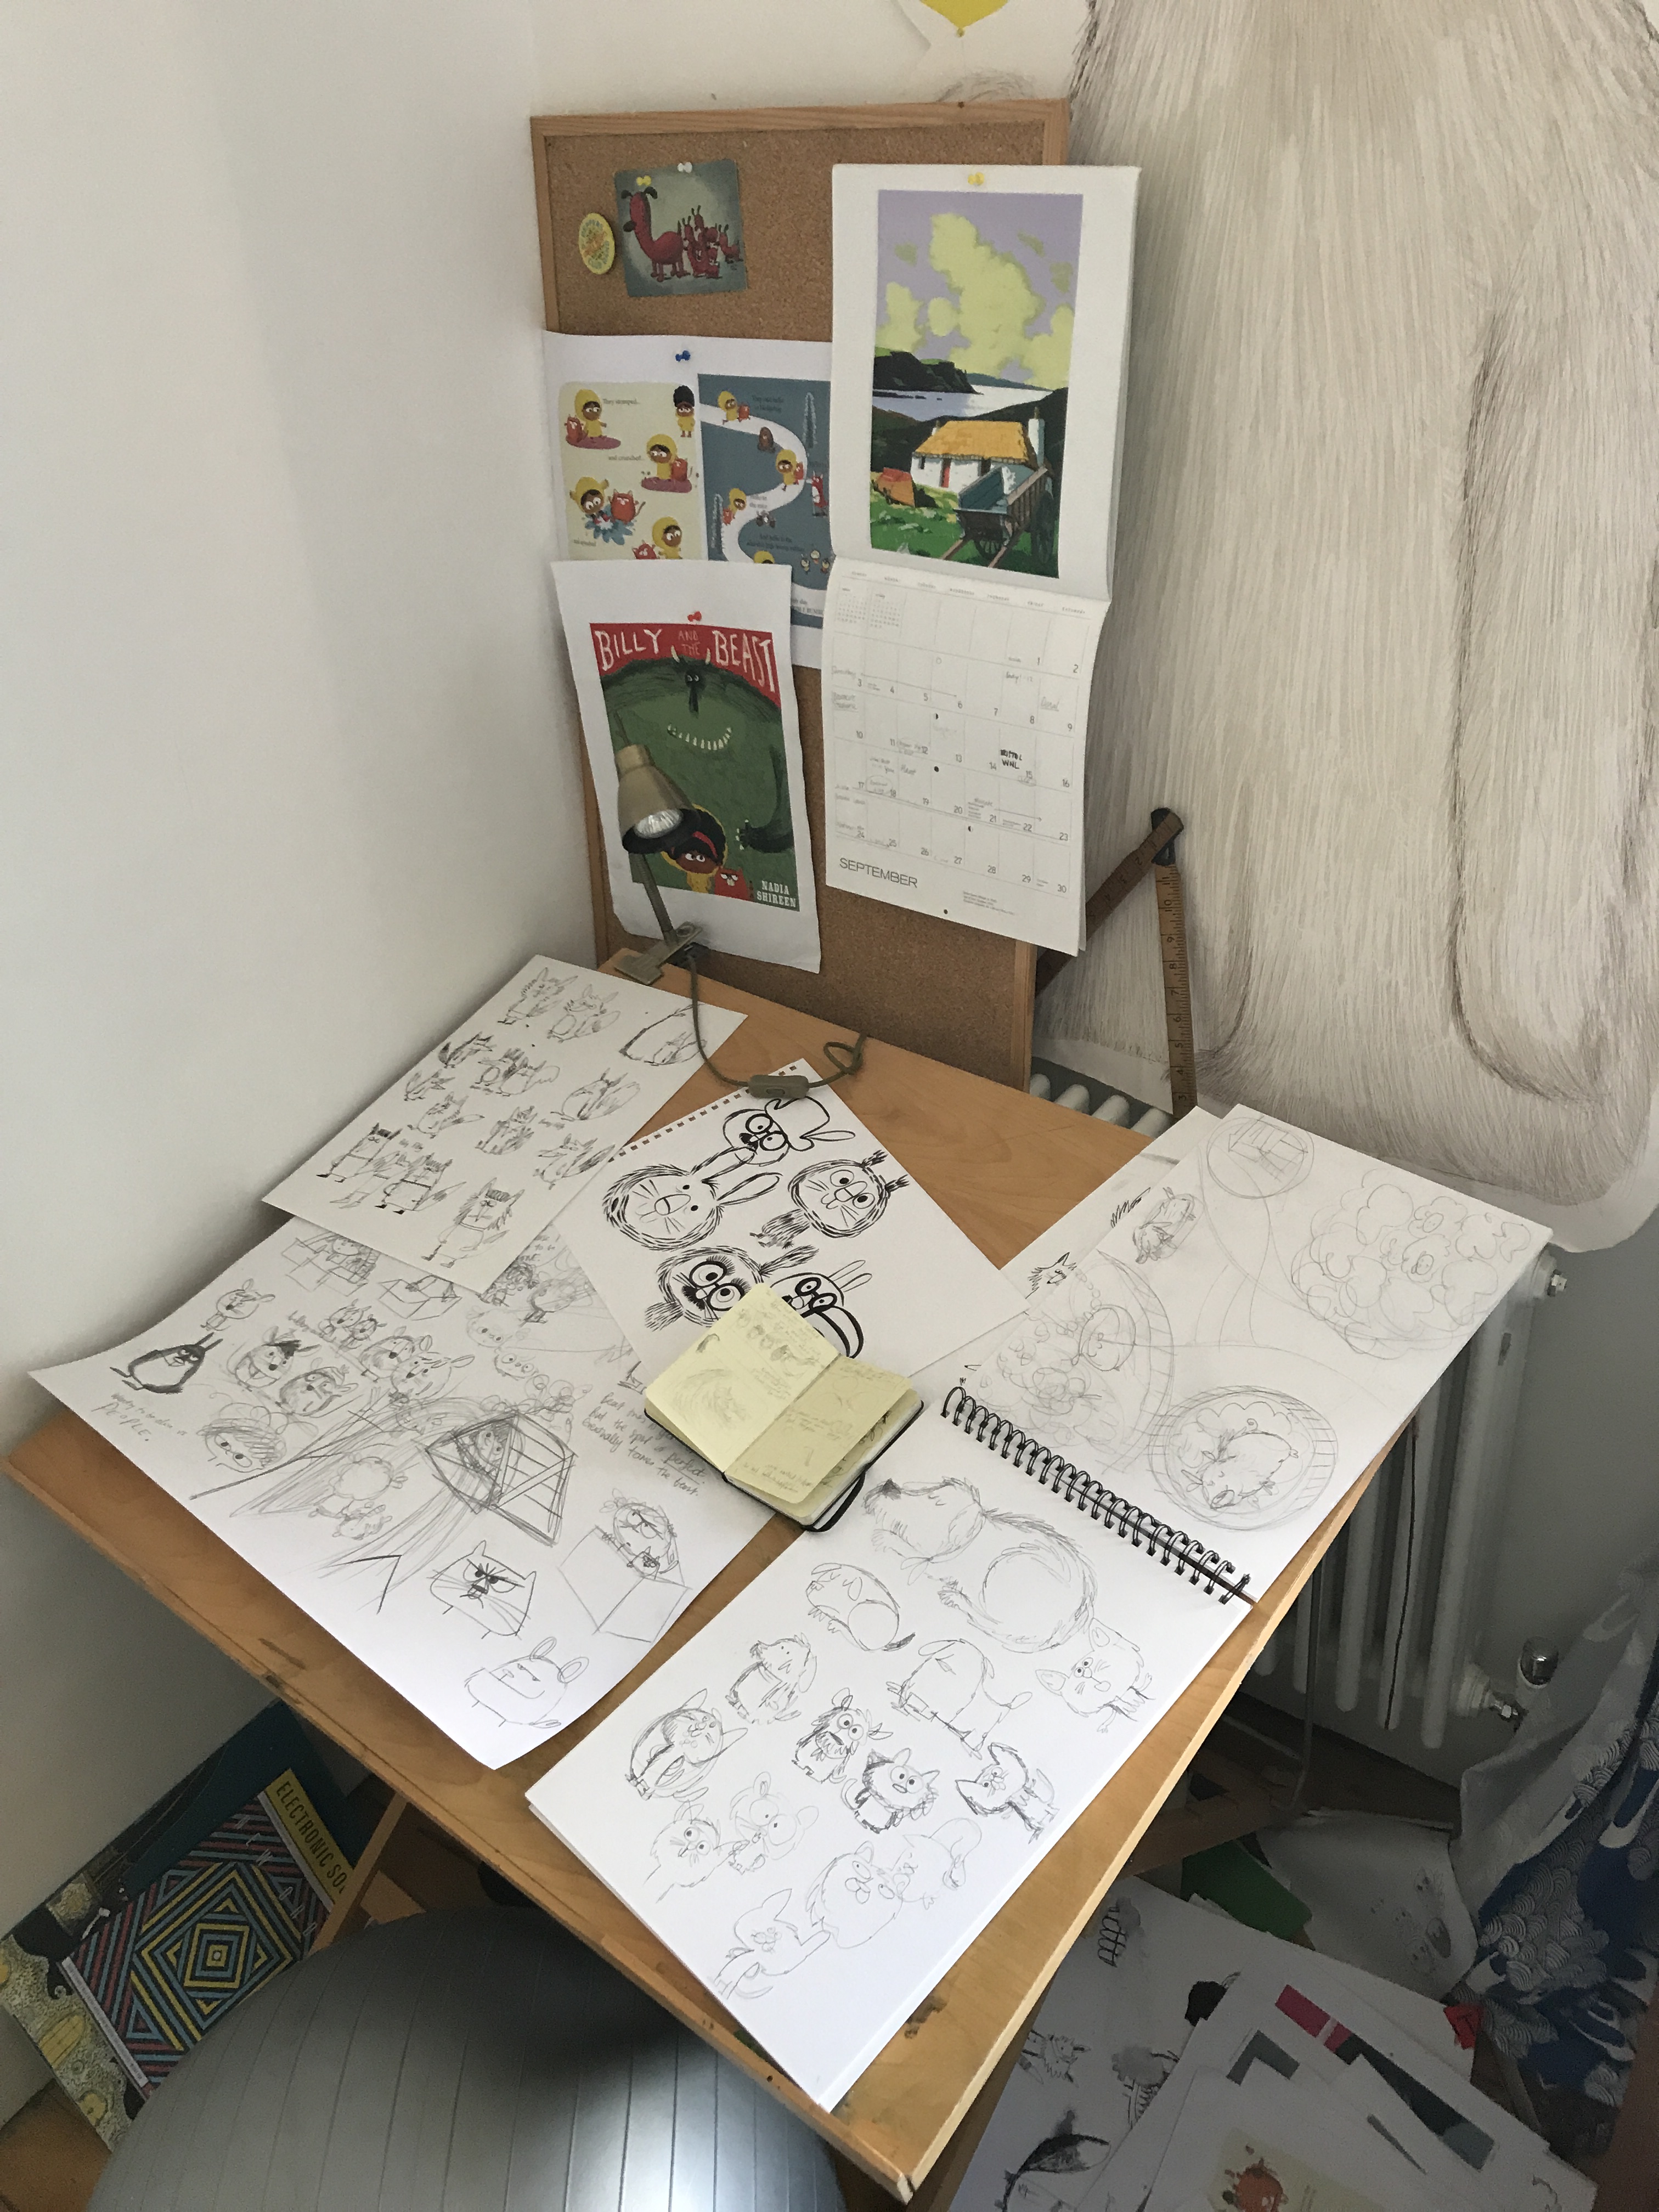
I tend to come up with the best stuff when I’m relaxed, doodling ideas on paper. I’ll probably have a cup of tea and some music on. As I draw and ponder, I will be trying to silence the voices of self-doubt and worry that I think almost all writers and/or illustrators get from time to time. The key for me is to try and ‘play’, which can be tricky when you are also worried about work deadlines. Basically, I like to stress out loads about not being relaxed enough.
Step 2: Further pondering
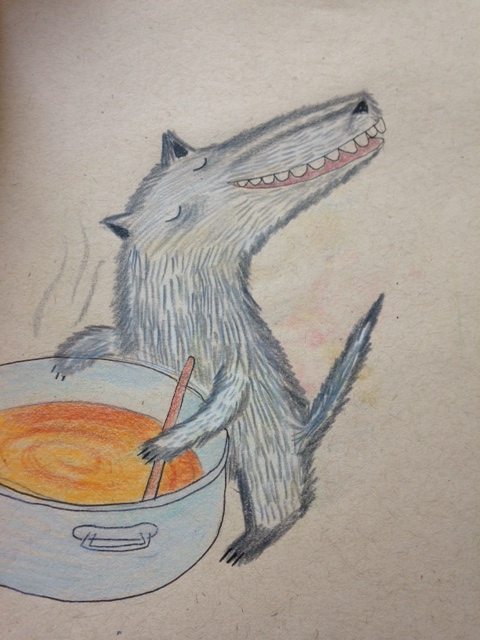
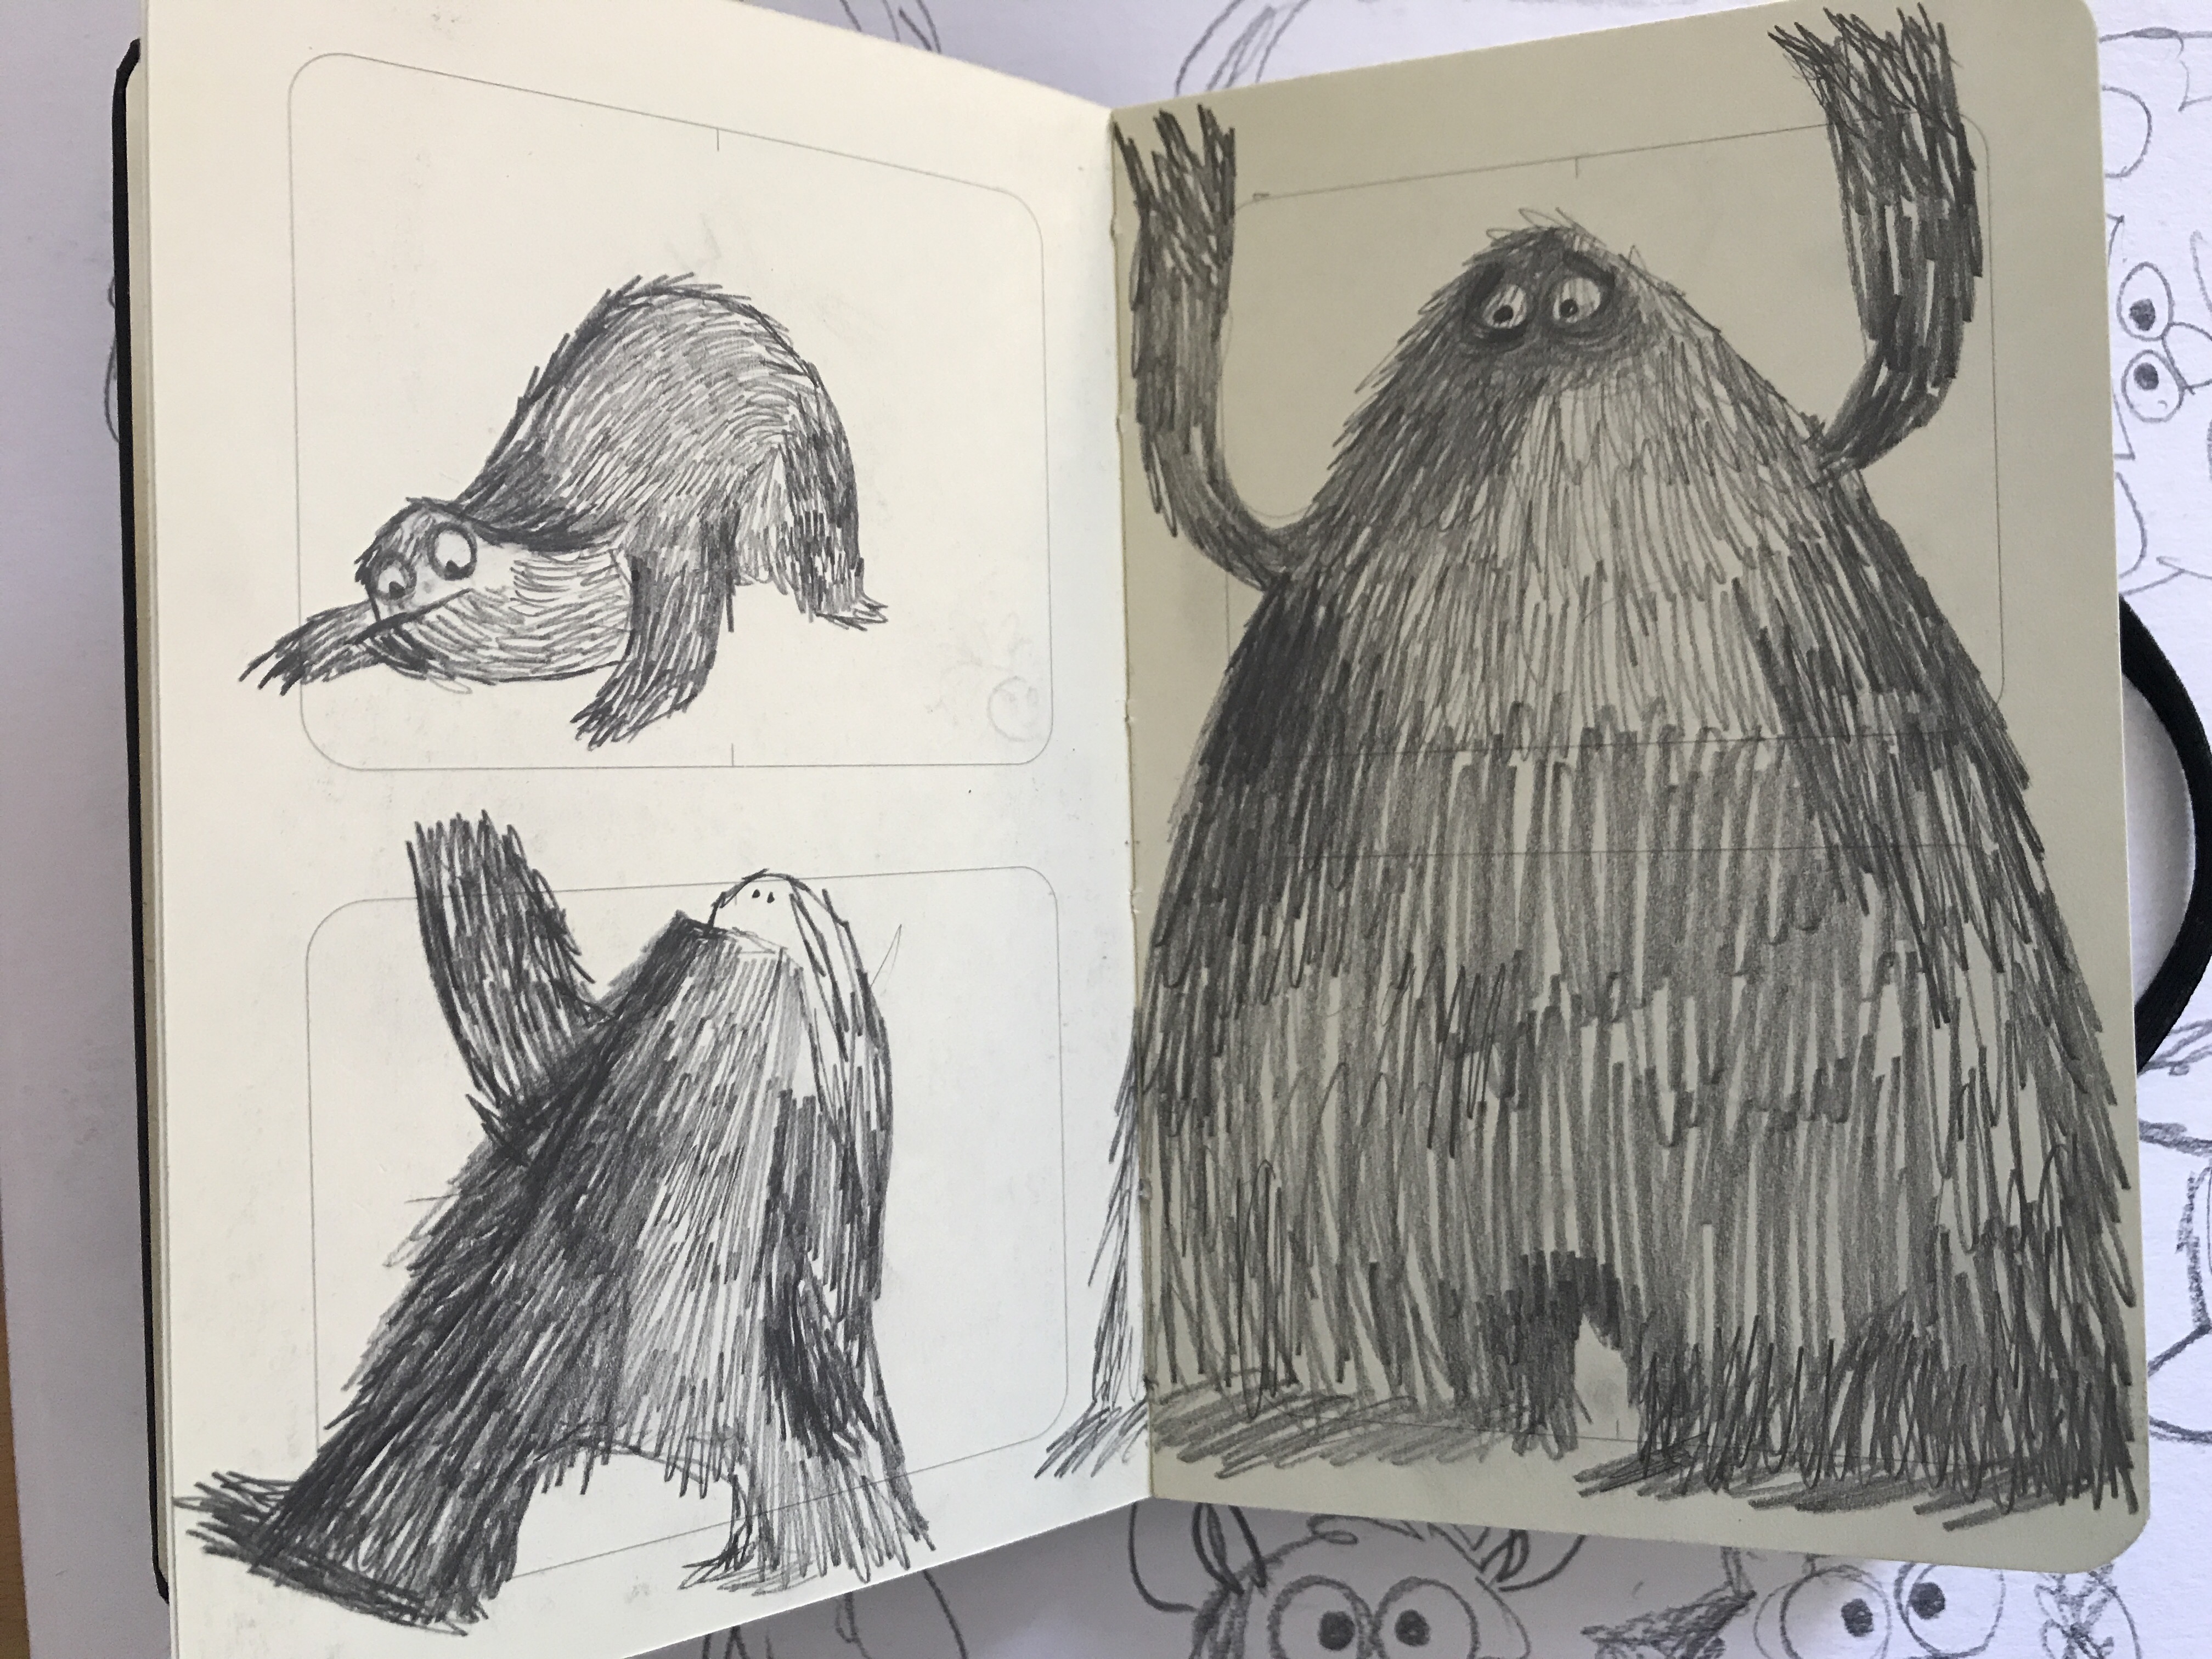
Sometimes it’s useful to draw ideas into tiny notebooks, other times I like to tape a big bit of paper to my drawing board and let rip. There is no right way. Once I like the look of a character, I then proceed to draw it over and over and over again. I tweak eyes, add fur, and play with different colours and materials. Often, characters start to suggest their own story. For example, one day I happened to doodle a wolf with a really smug expression on his face. In fact, he looked like a very Good Little Wolf… and his story grew from there.
It’s also important to try to draw your characters doing different things, moving about and playing with their emotions. It’s fun gradually getting to know them.
Step 3: Plotting the story

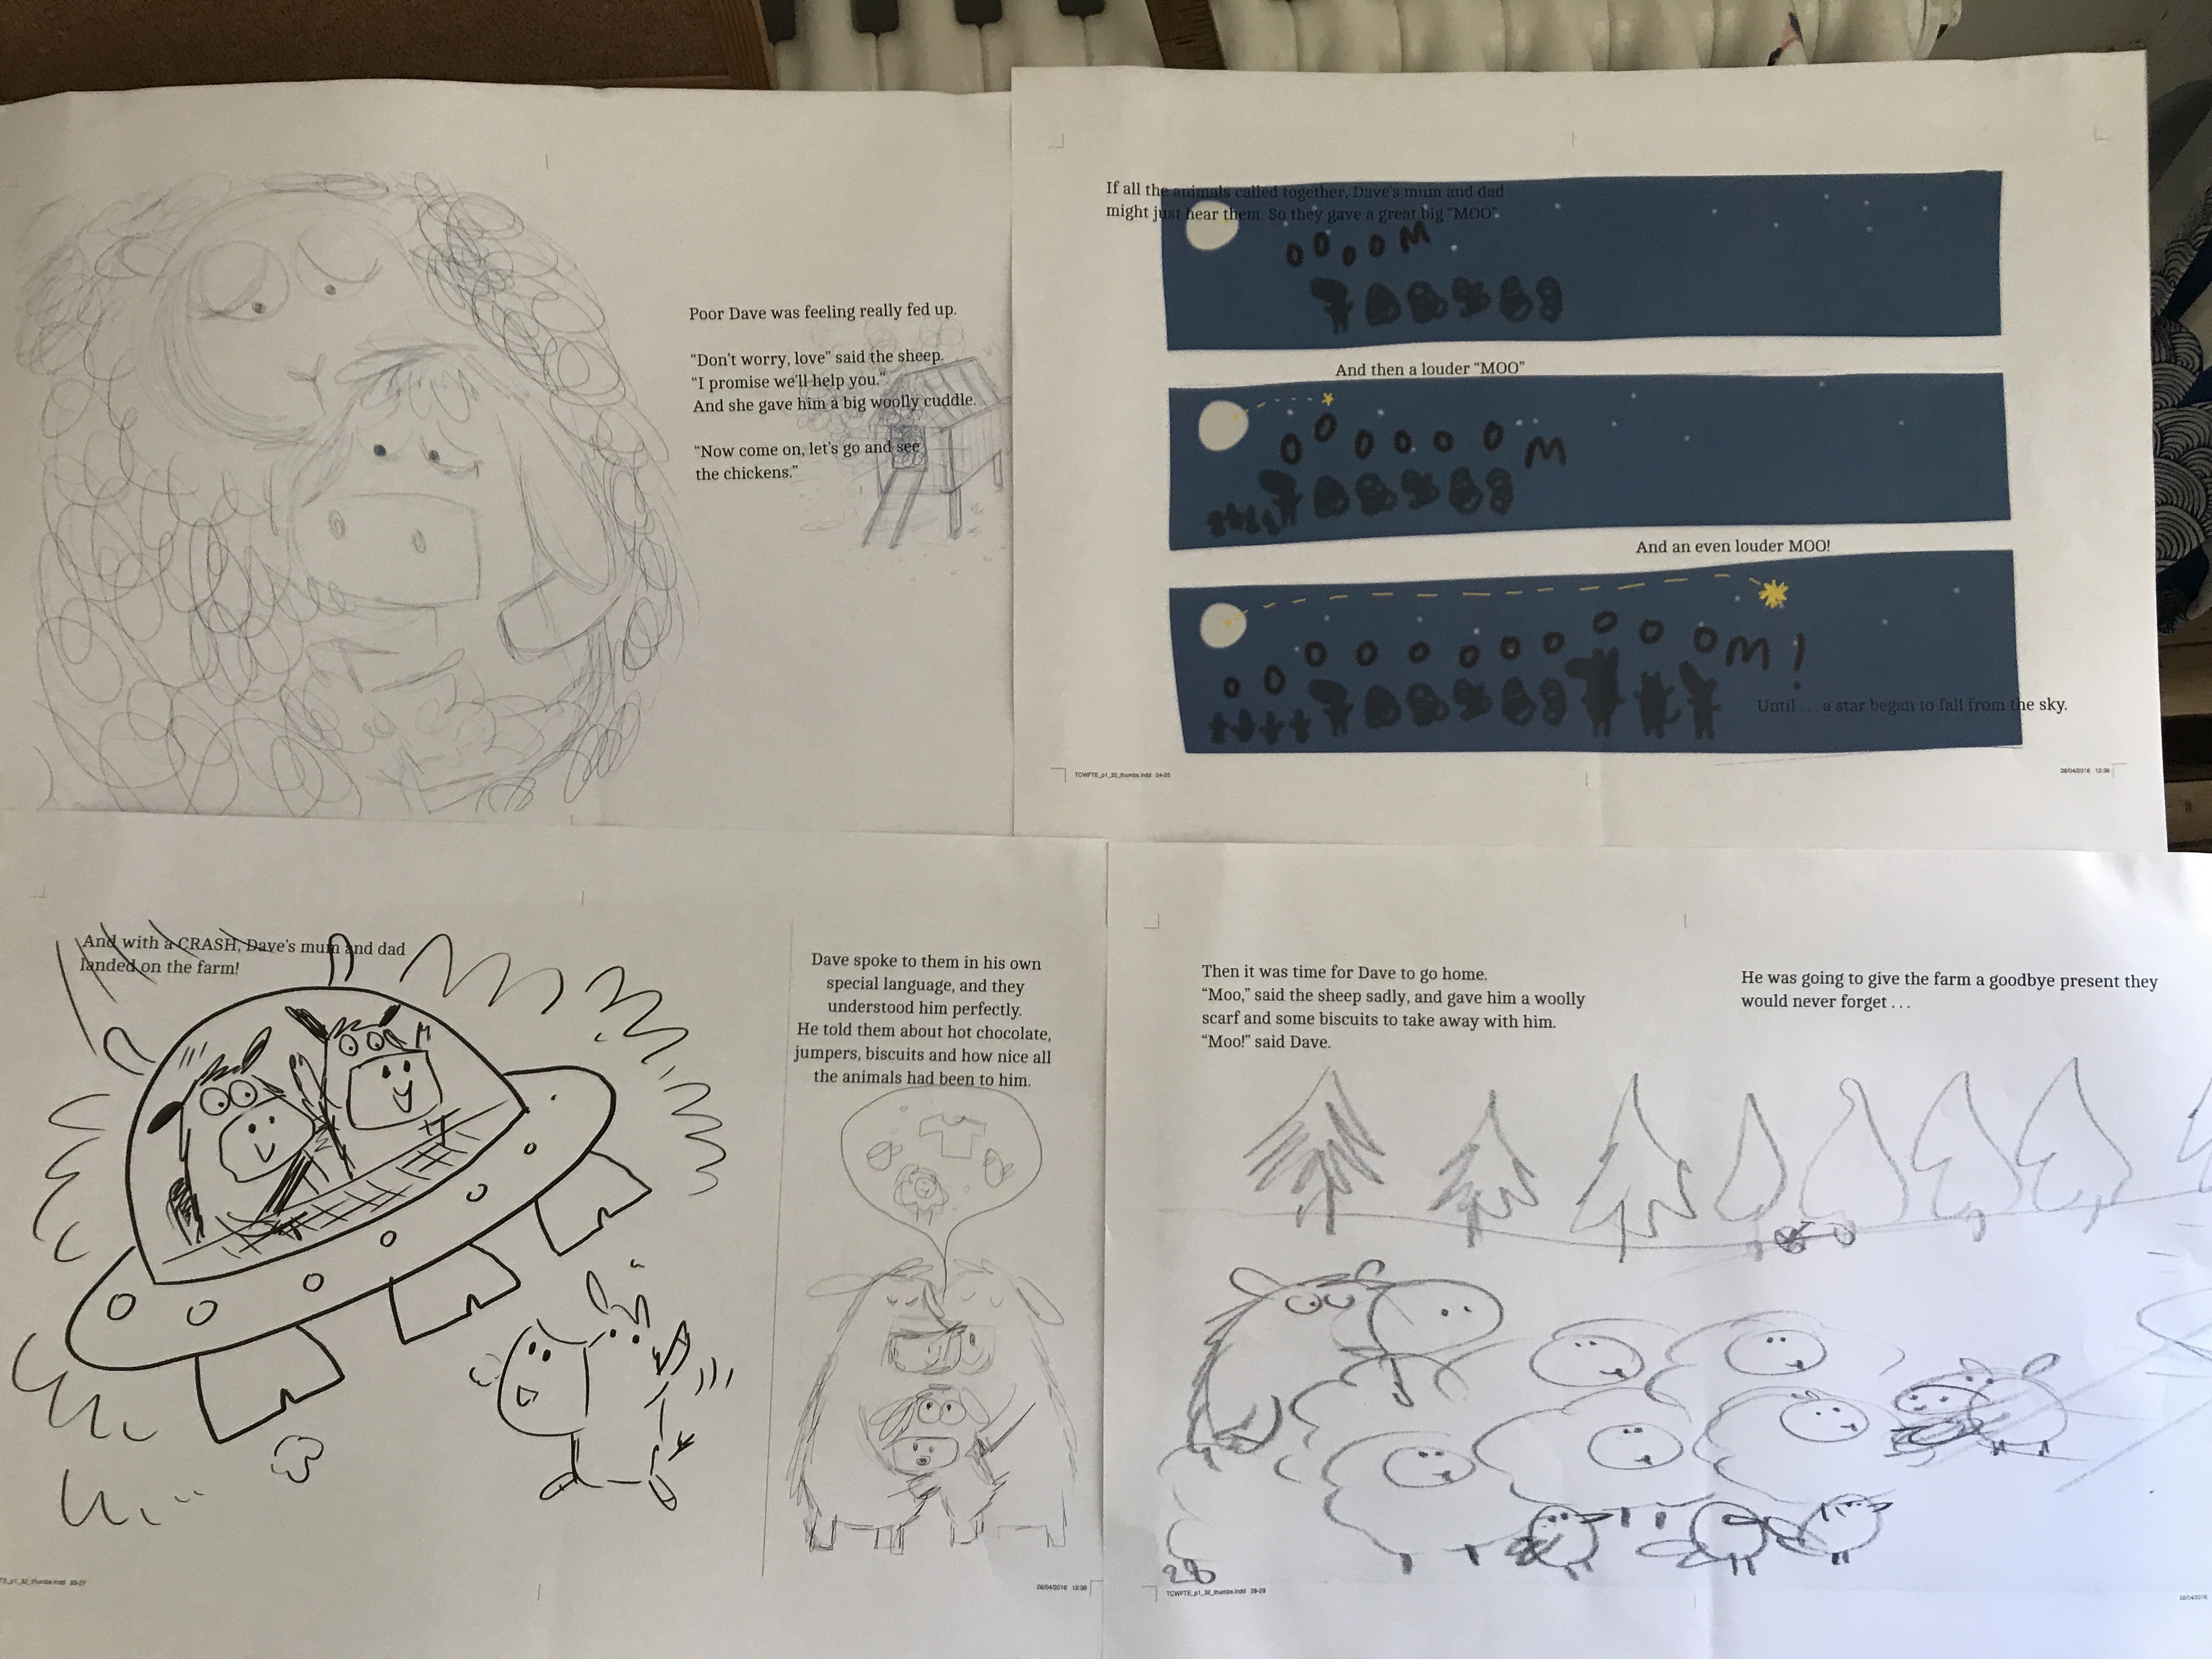
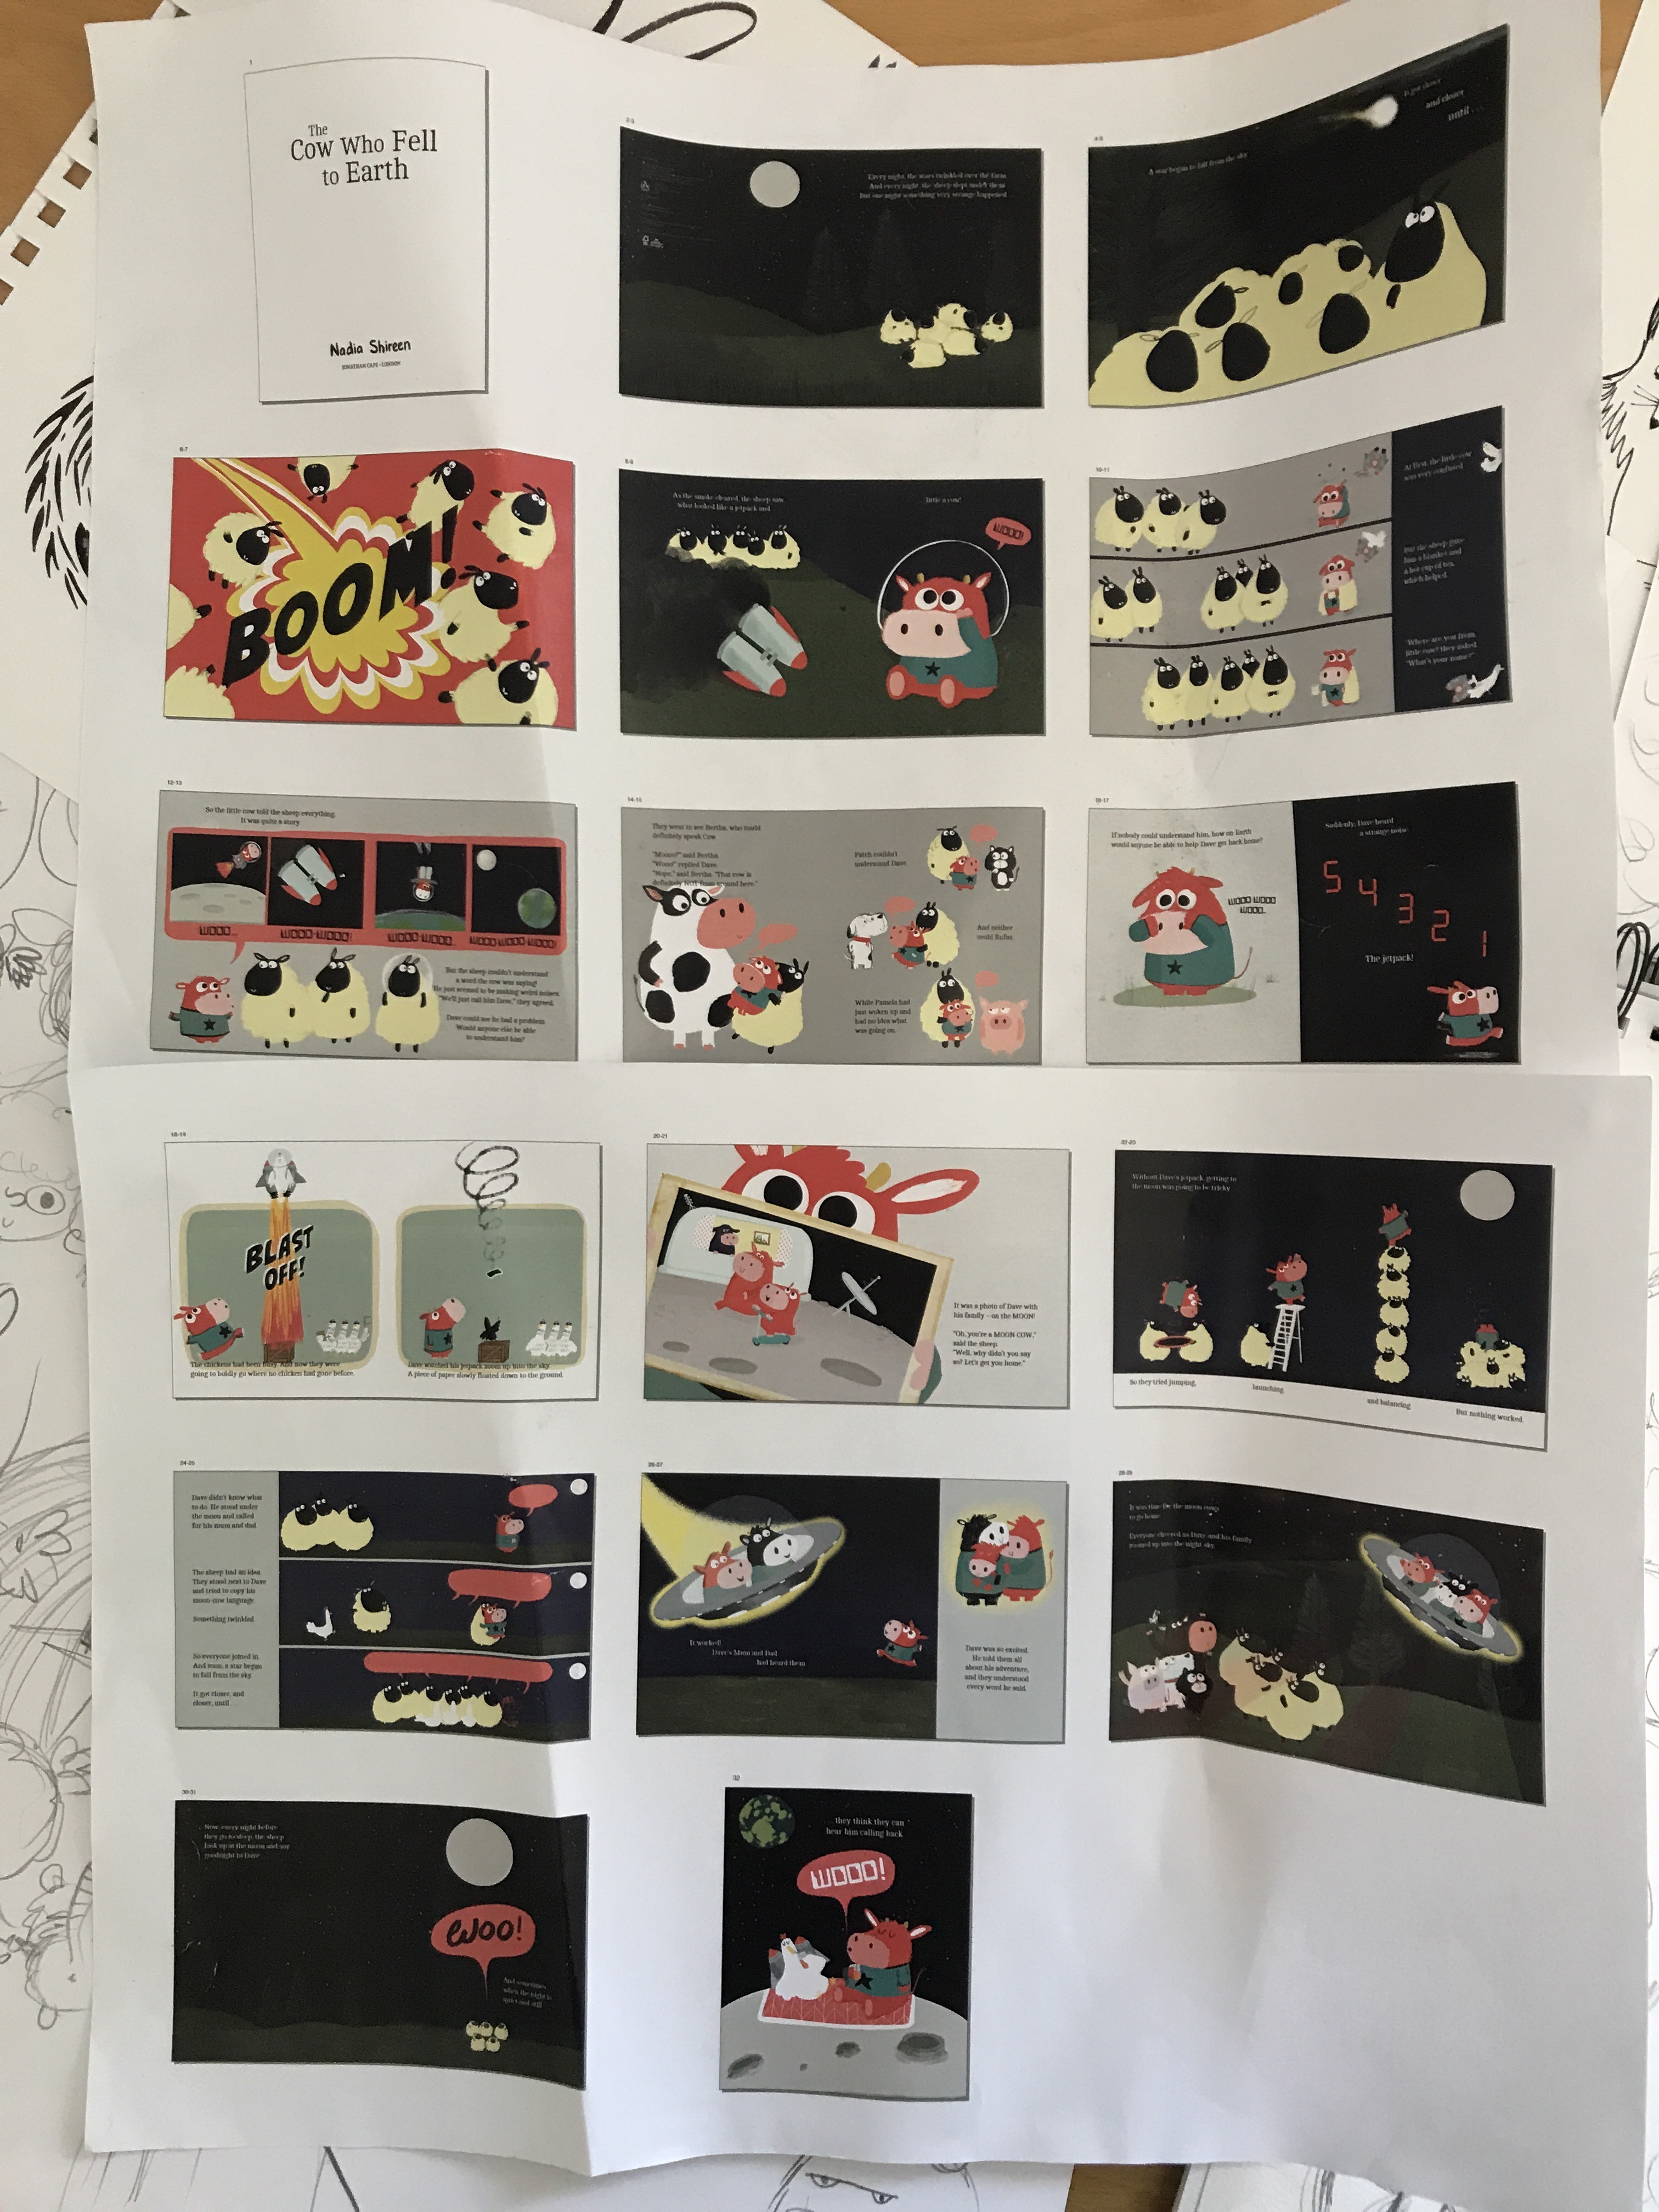
Now for the trickiest bit – sorting out what happens and trying to make it all fit. I’m trying to make the story flow, and it’s really important to make sure there’s enough stuff going on to encourage my reader to turn the page and see what happens next.
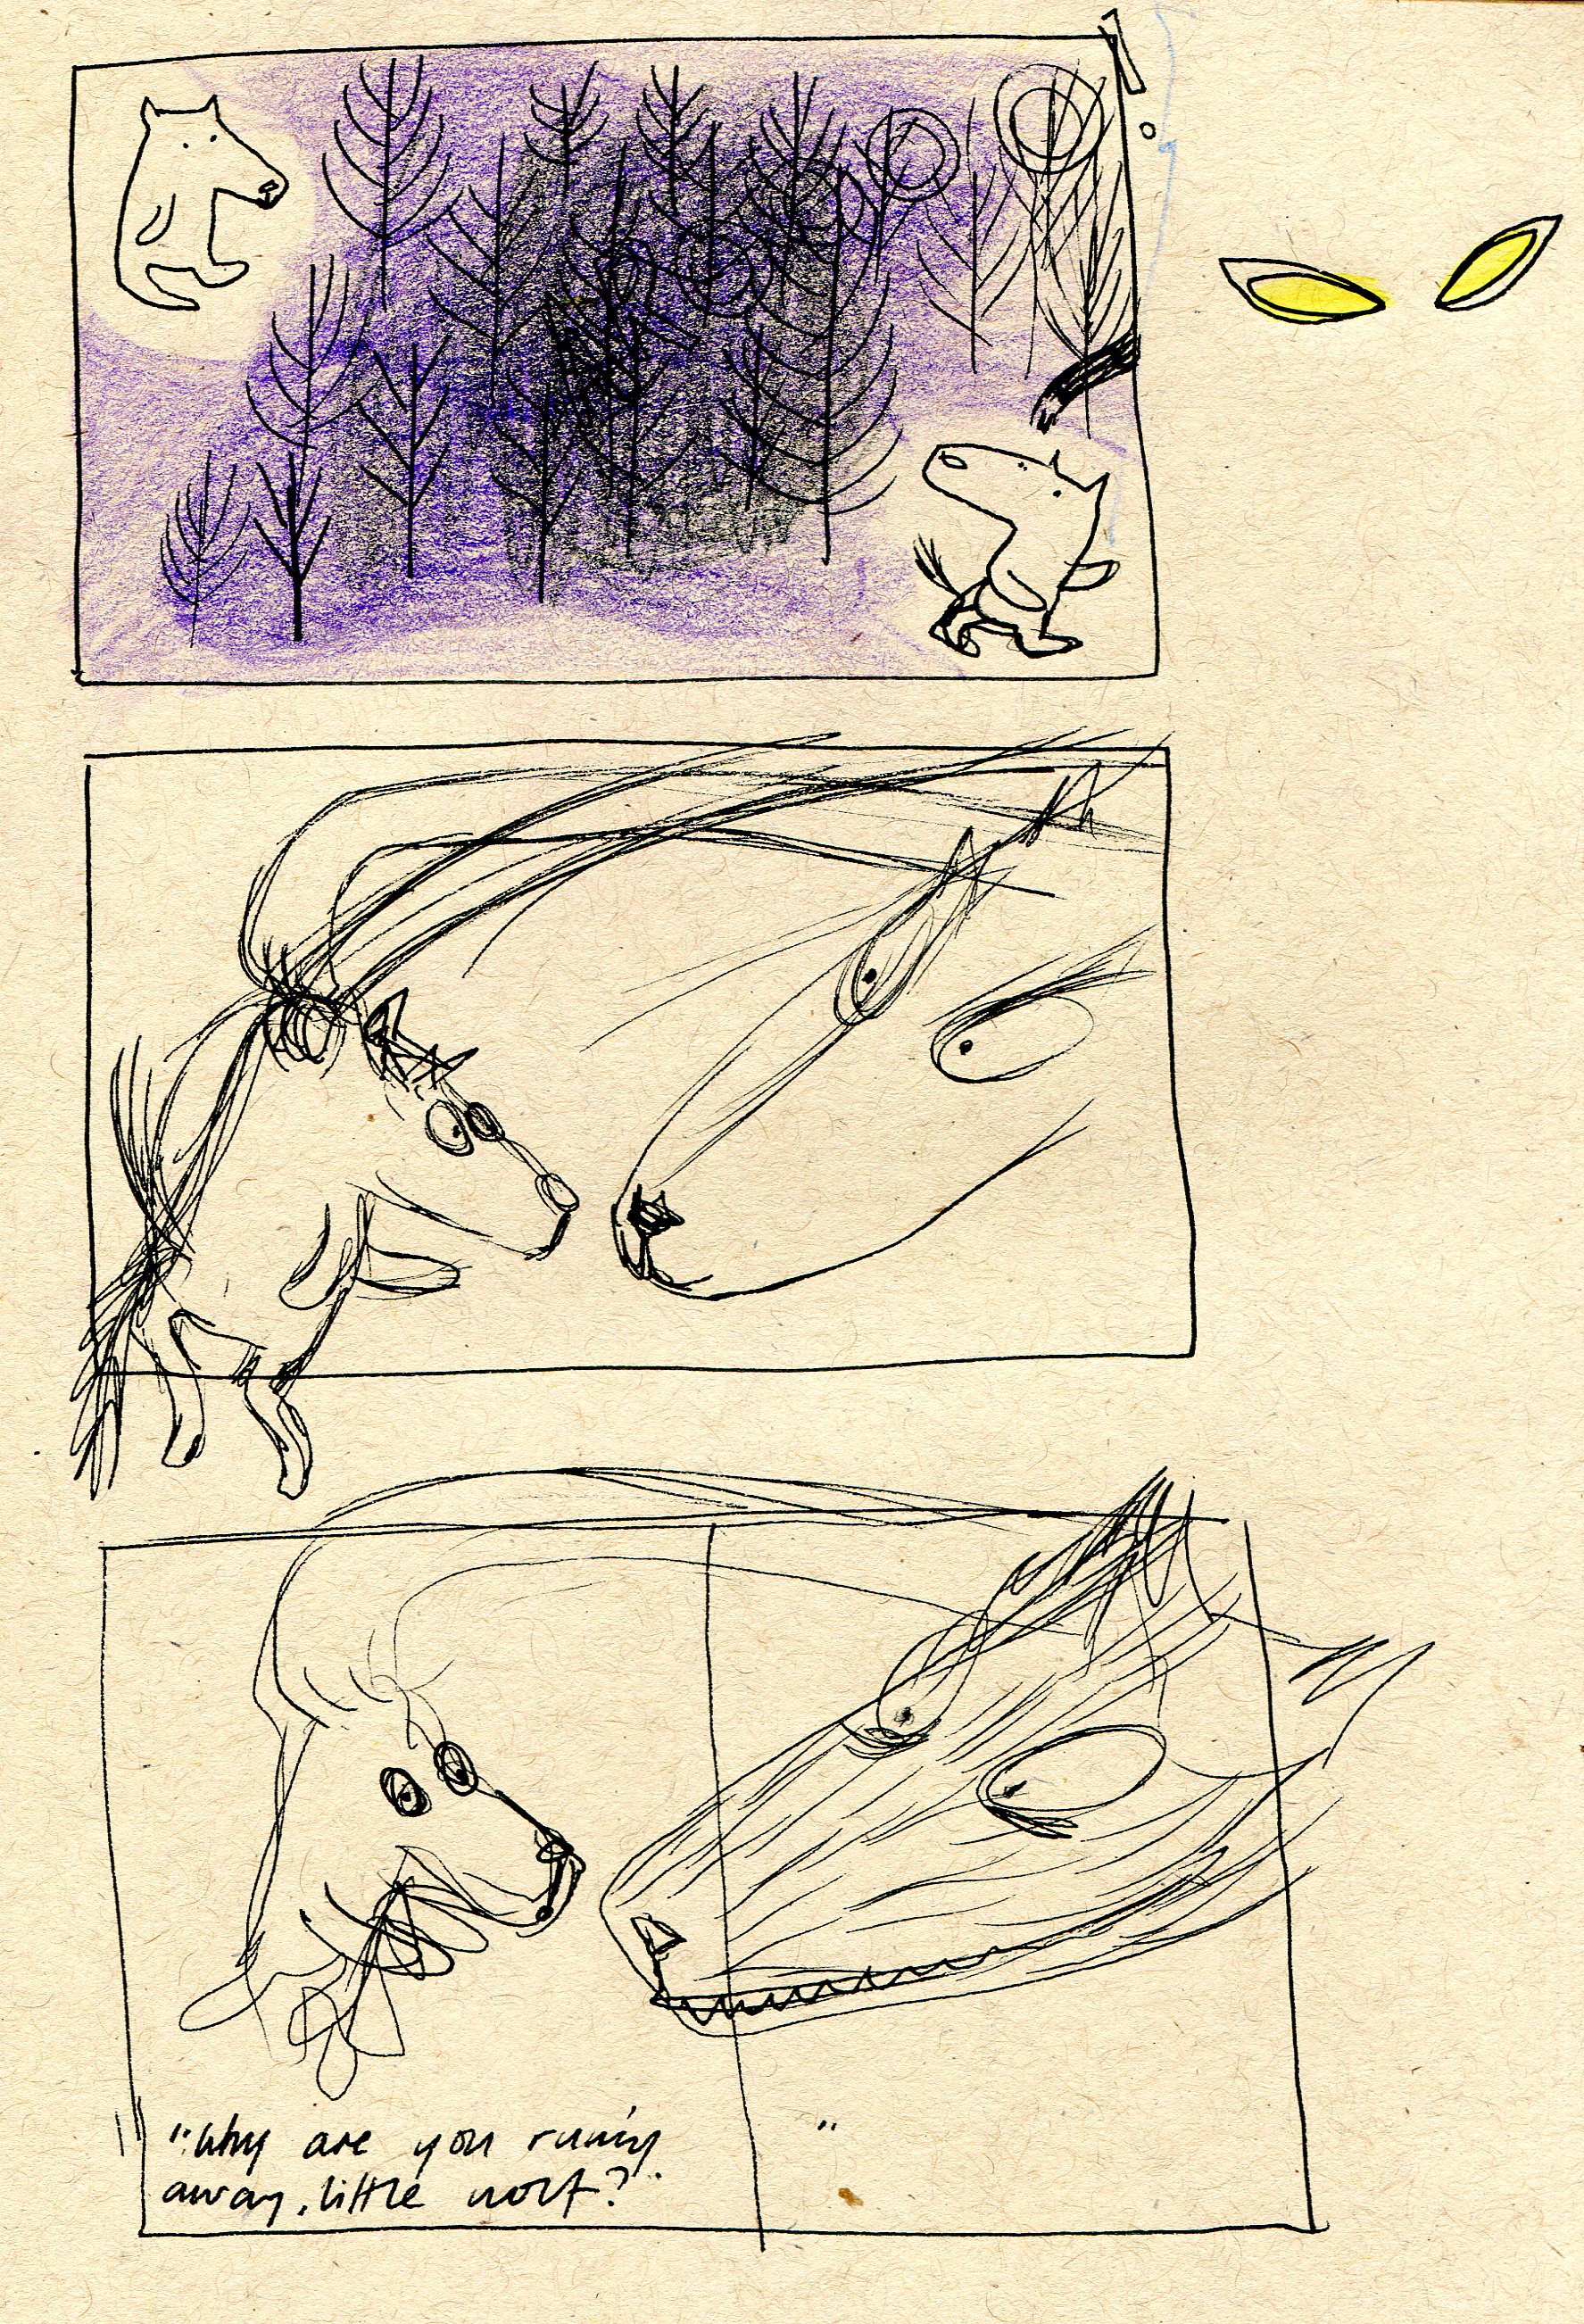
I work all this stuff out by drawing loads and loads of small drawings called ‘thumbnails’. Then I spend ages switching thumbnails around and trying to make sense of things. I usually do a lot of crying at this point.

I try to tell my story by using words and pictures in an interesting way. They both need to tell the story, but not at the same time. Every element should contribute to the story in some way – whether that’s through the colour of the sky on one page or the use of question mark on another.
Step 4: Working it up
I’m lucky that I get to work with an editor and a designer who are on hand to help me knock my sketches up into an actual book. They might suggest tweaks to the text, different approaches to page layout or point out that a character is missing a nose. They also have to sit with me in meetings and pretend to laugh at my jokes. Anyway, once the overall layout is agreed, I then sit in my study and do A LOT of drawing. I like this bit. It’s hard work, but also just really good fun. I mean, I’m colouring in animals and it’s my job. What’s not to like?
Step 5: The end!
Hurray! Once I’ve finished drawing everything up and my editor gives me the thumbs up, the book is finished. Not really. What actually happens is I wait for about eight months and then eventually the book comes out in the shops. Then everyone rushes out to buy it and I become RICH BEYOND MY WILDEST DREAMS. Not really (again.)