- Home |
- Search Results |
- Make your own cherry blossom and bumblebee decorations for spring
Make your own cherry blossom and bumblebee decorations for spring
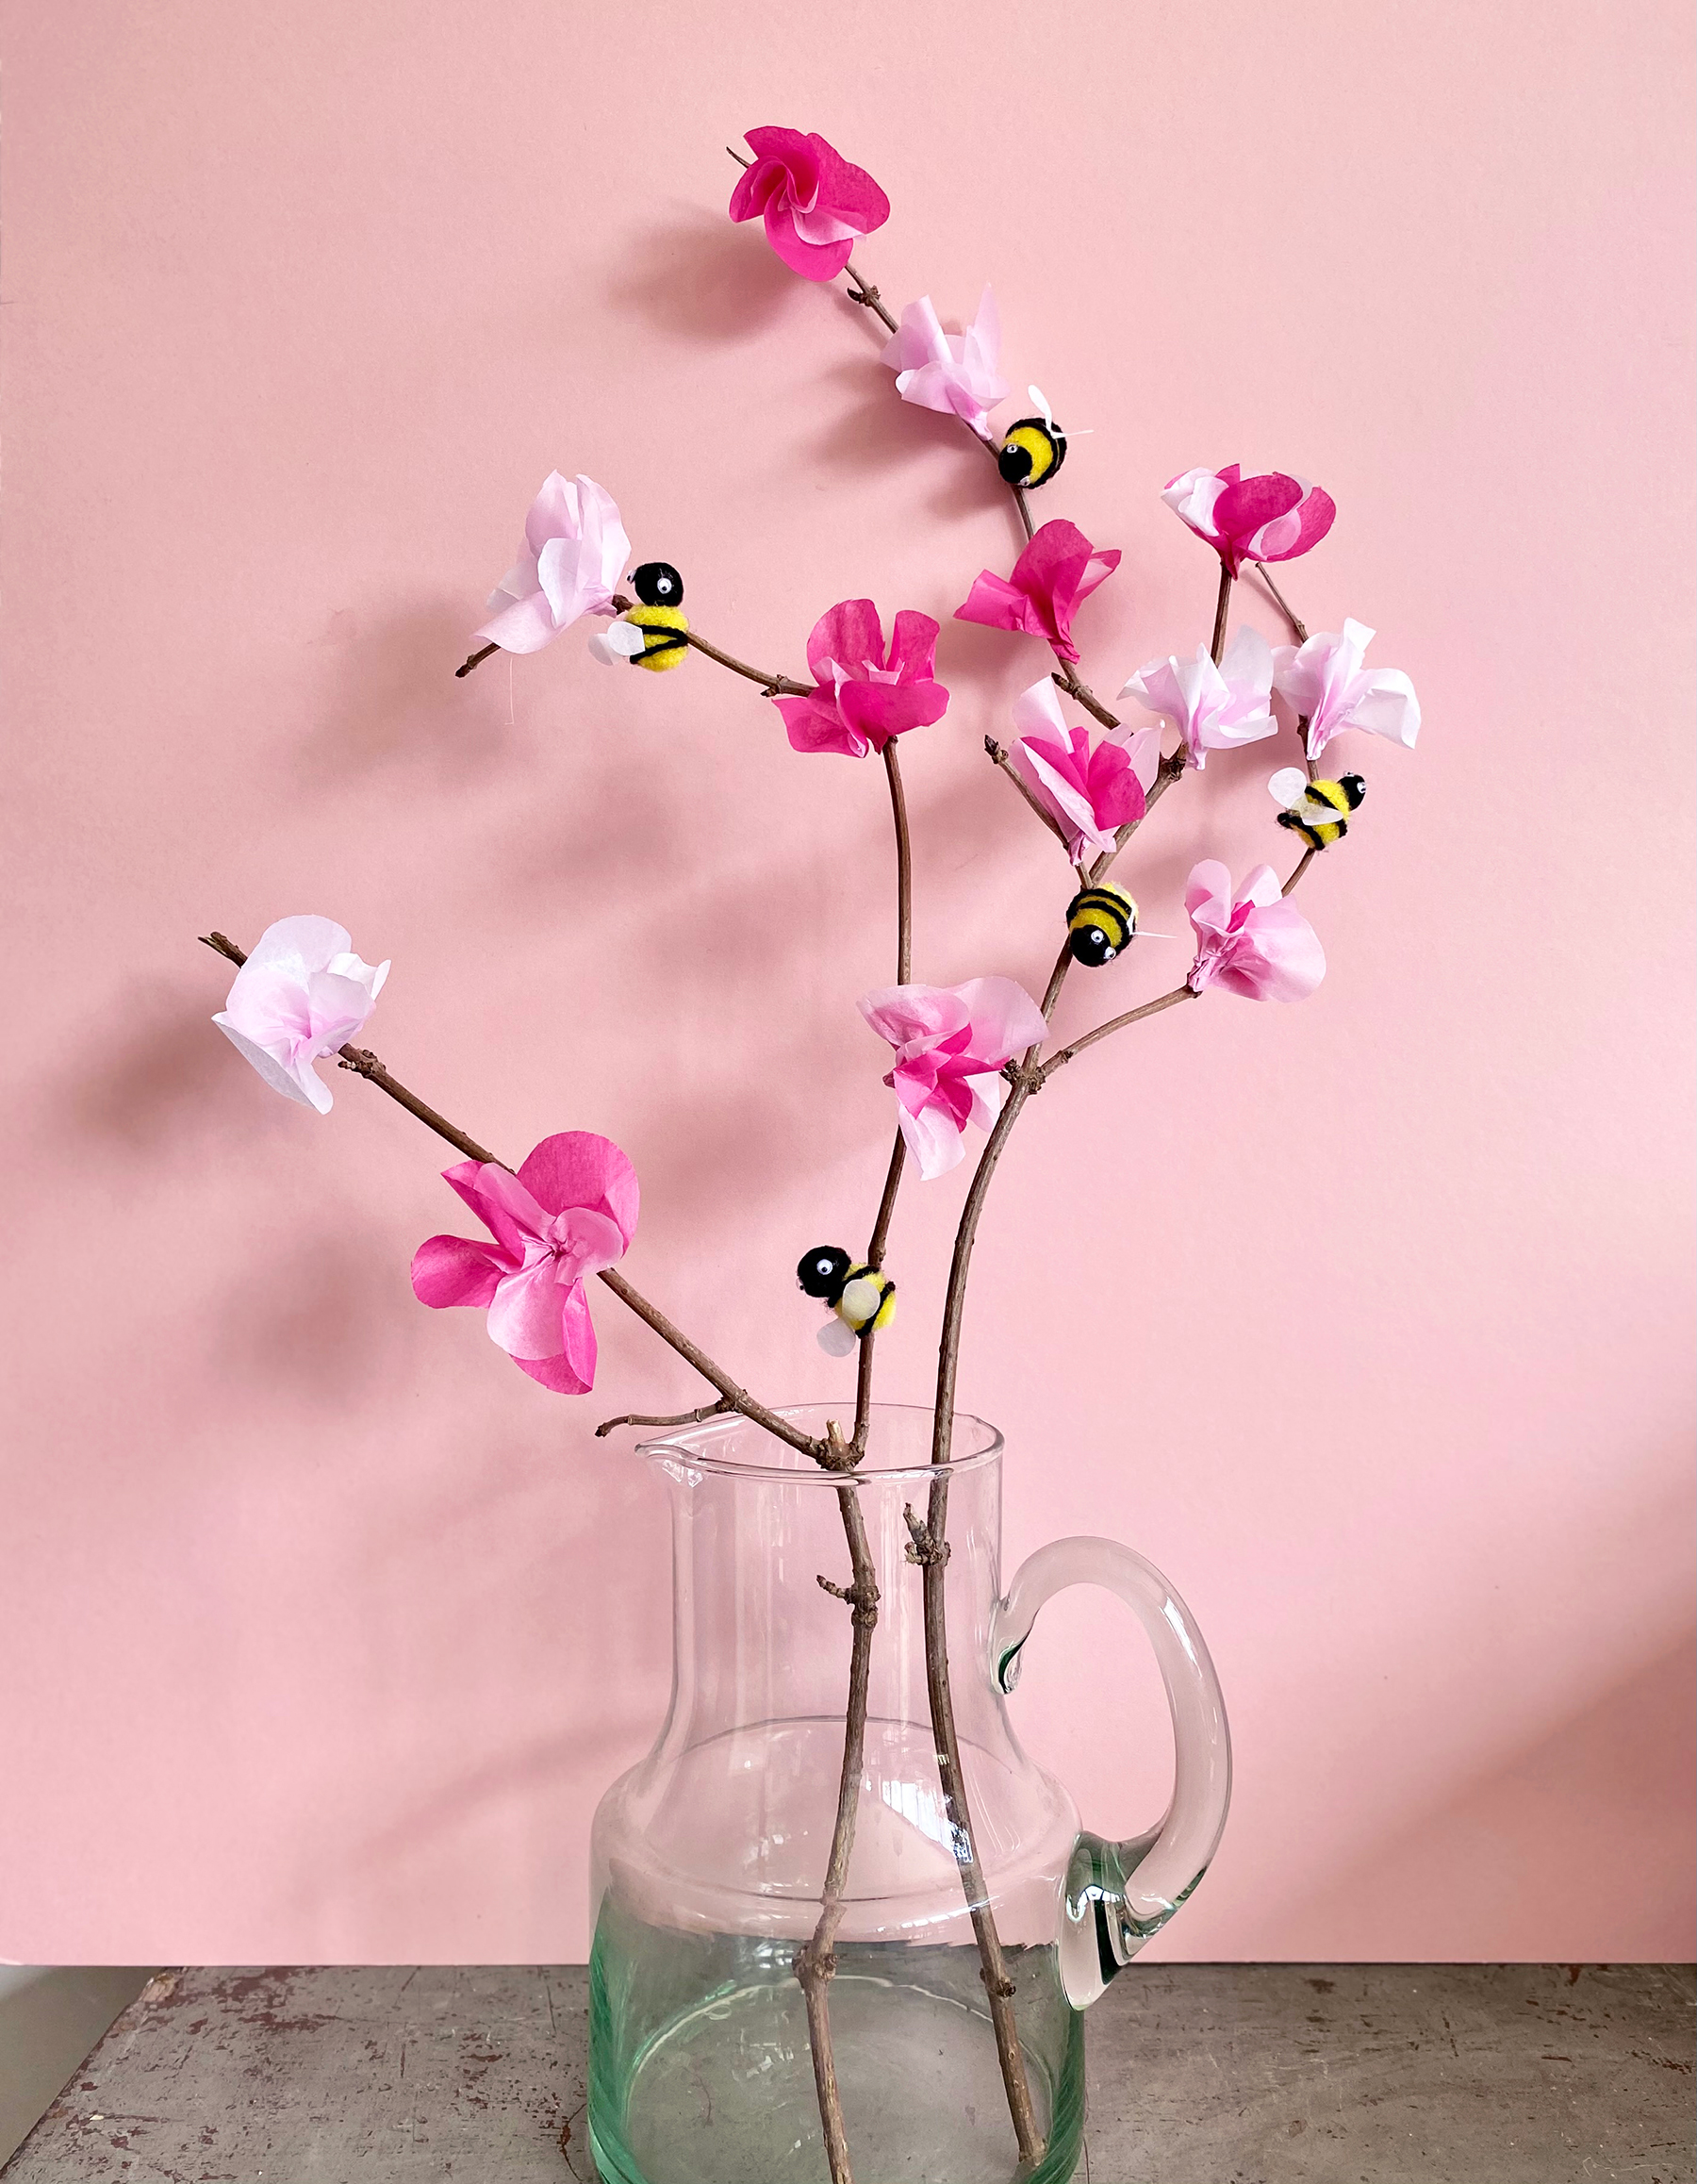
It's officially spring! So, get crafty with the kids and make some everlasting cherry blossoms decorated with little fuzzy bees, inspired by What To Look For In Spring.
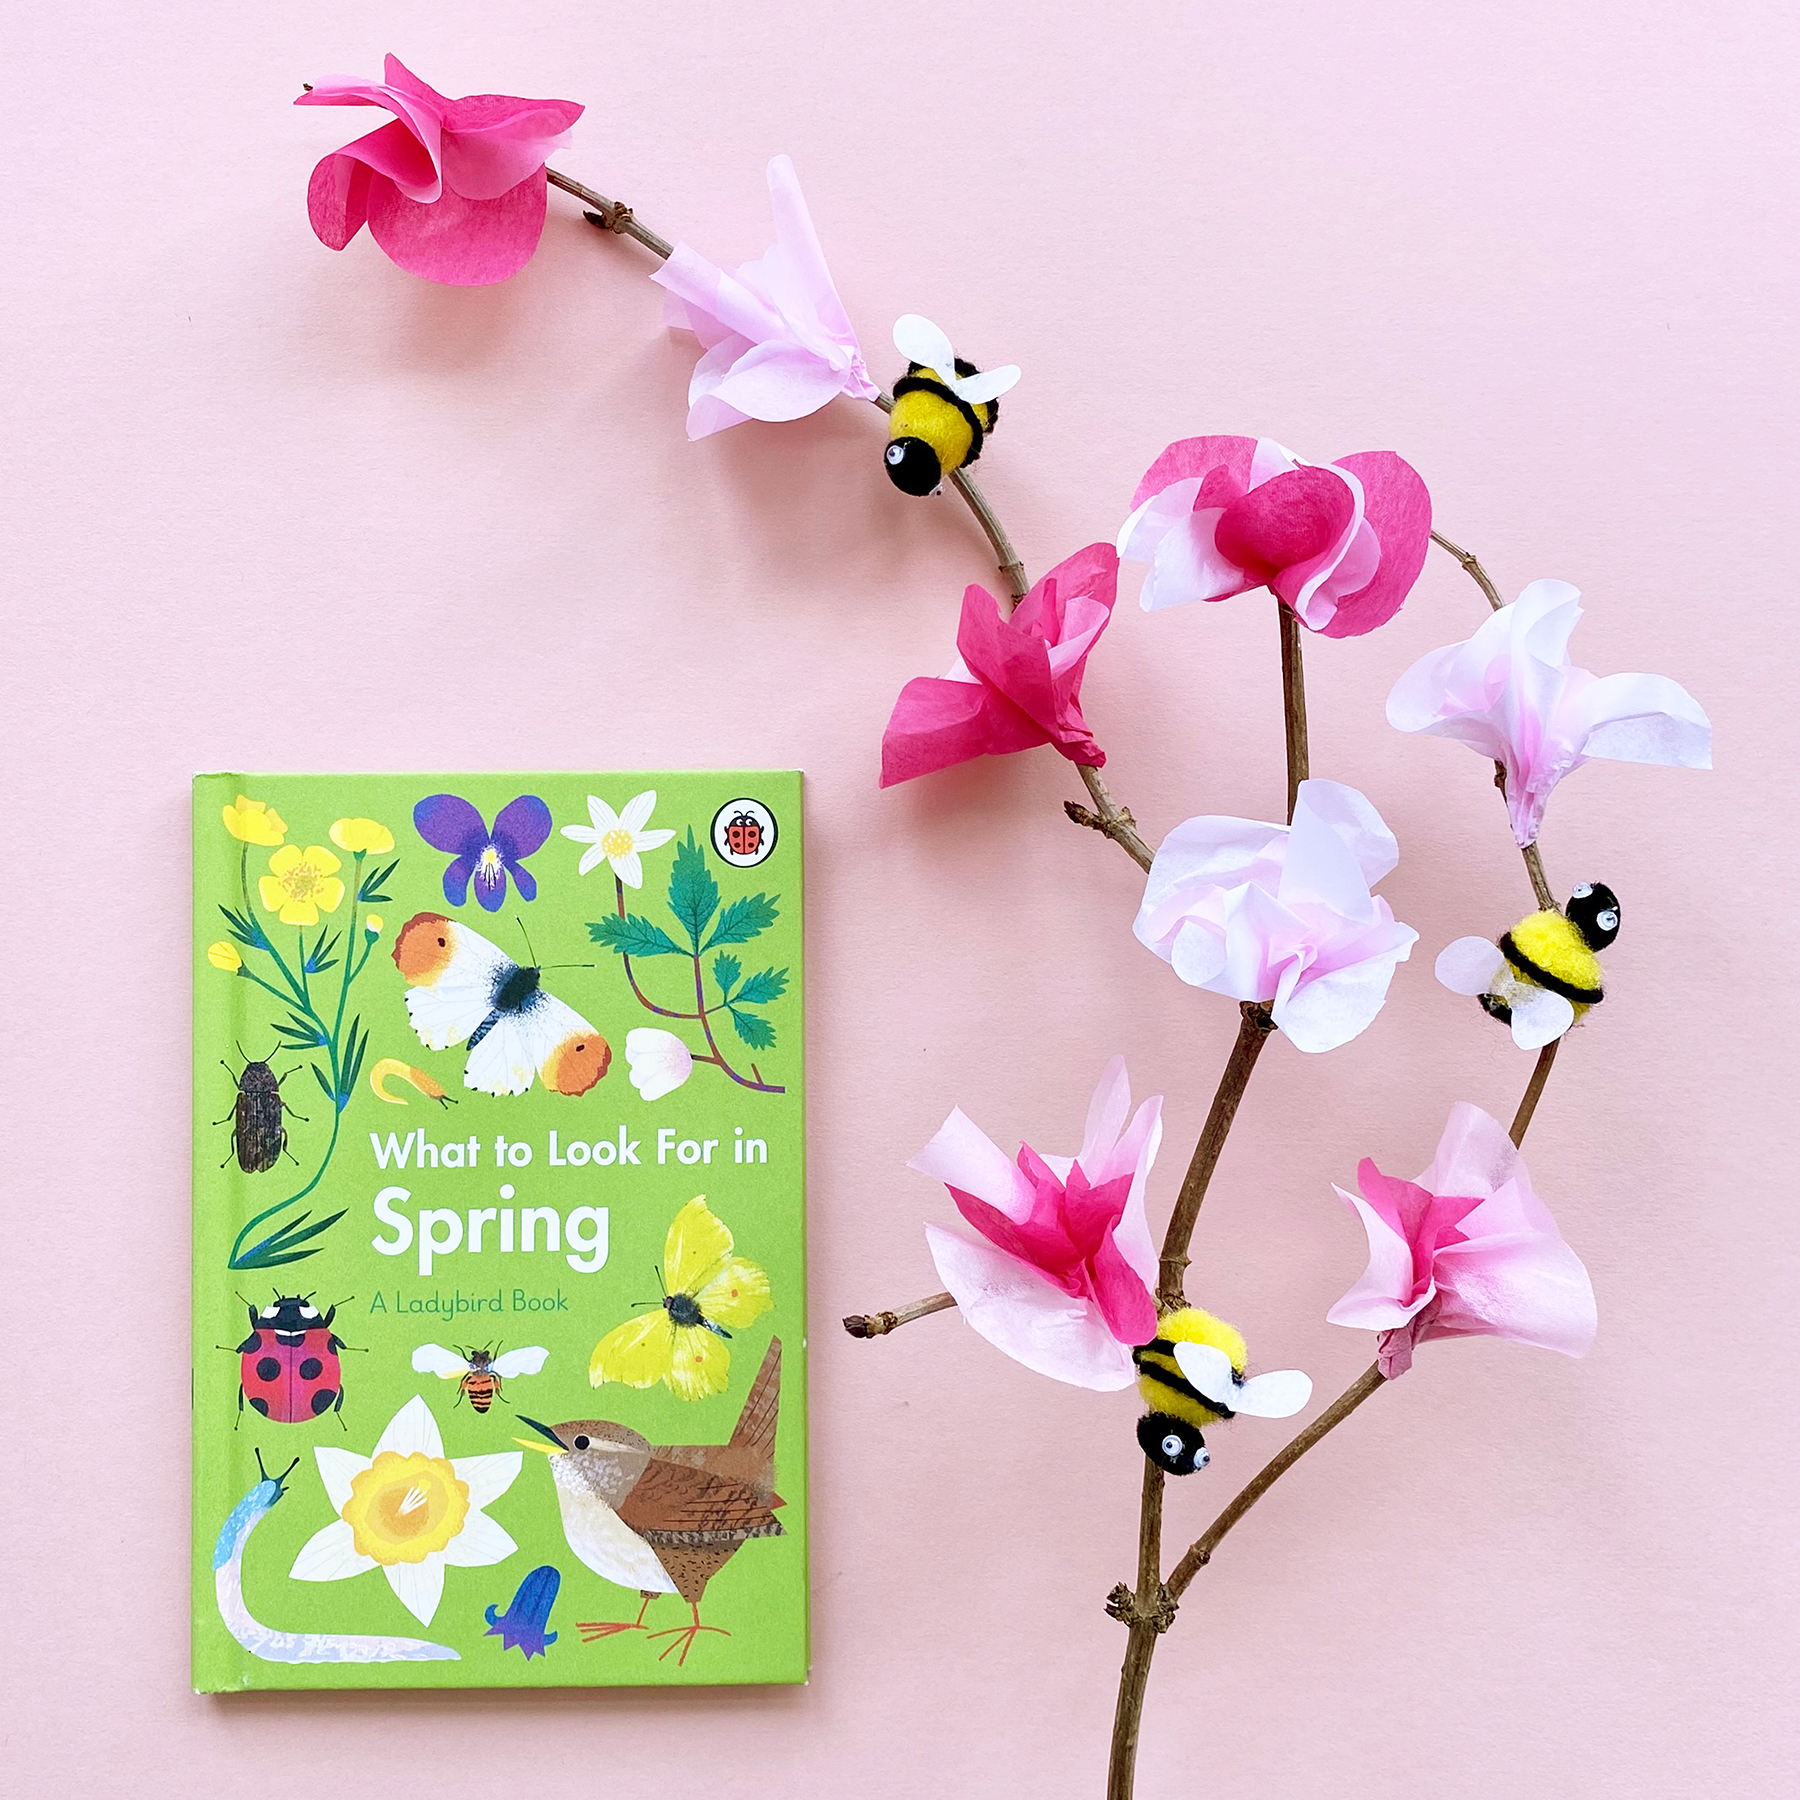
You will need:
· Bright pink, light pink, and white tissue paper
· Twigs from the garden or local park/wood
· Yellow and black pom poms
· Black wool
· Wiggly eyes
· Pencil
· Scissors
· Glue
How to make your cherry blossoms and bees:
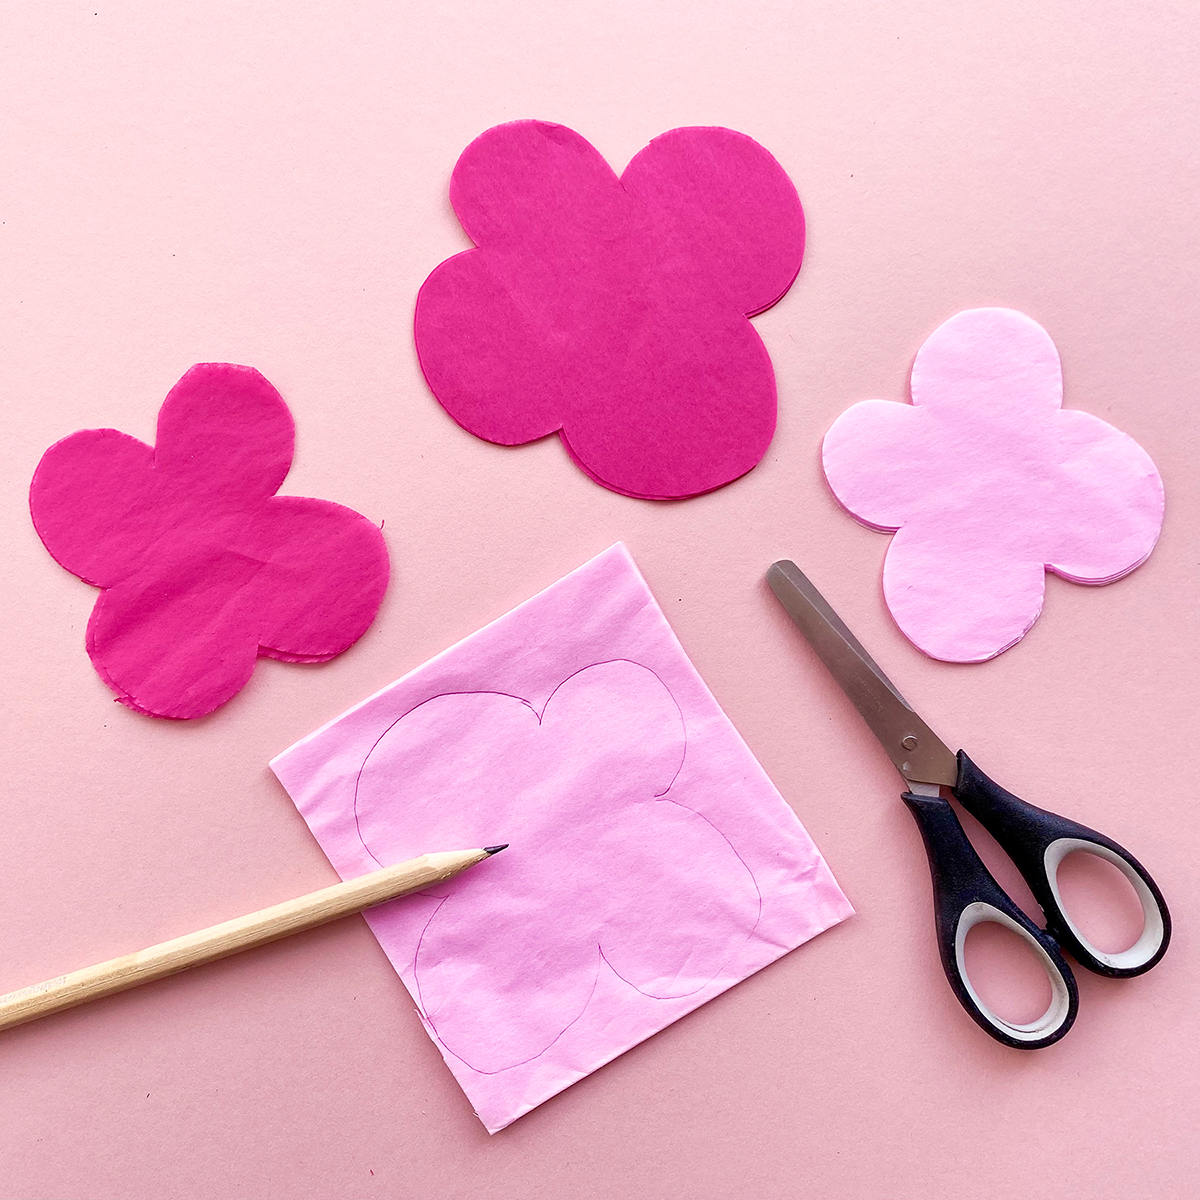
1. First, cut* the different coloured tissue paper into squares measuring 6cm x 6cm and 8cm x 8cm. Then using your pencil, draw and cut out a simple flower shape.
*Little crafters, make sure an adult is helping you when using the scissors!
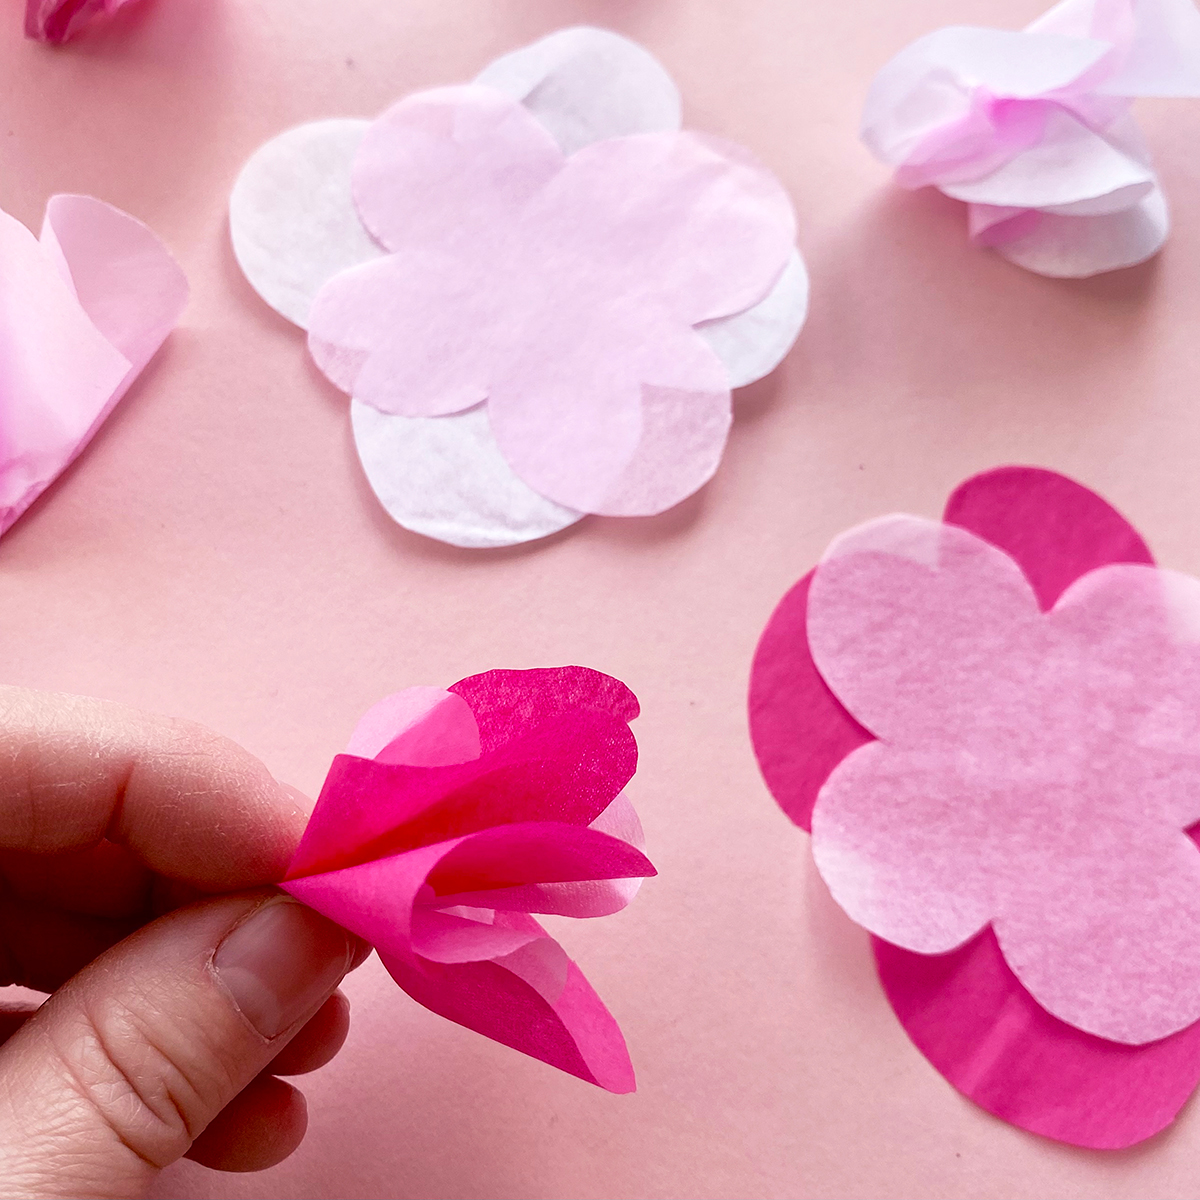
2. Next, pair the small and large tissue paper flowers together in contrasting colours, and scrunch them by pinching and twisting underneath with your finger tips. Fluff out the ‘petals’.
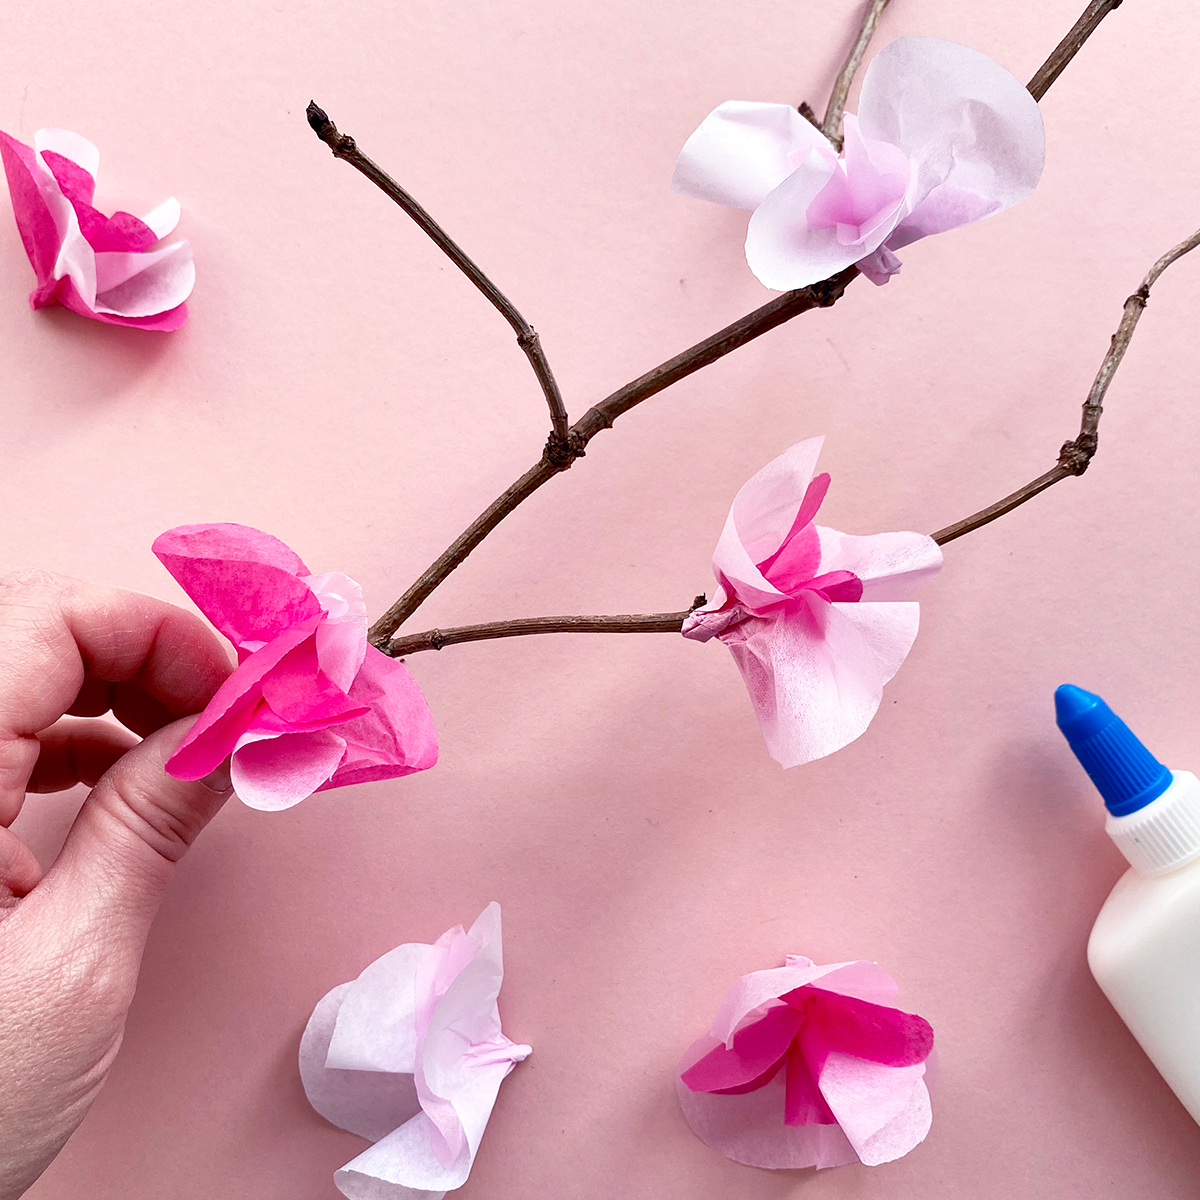
3. Once you’ve made a bunch of cherry blossoms, glue them to the twigs.
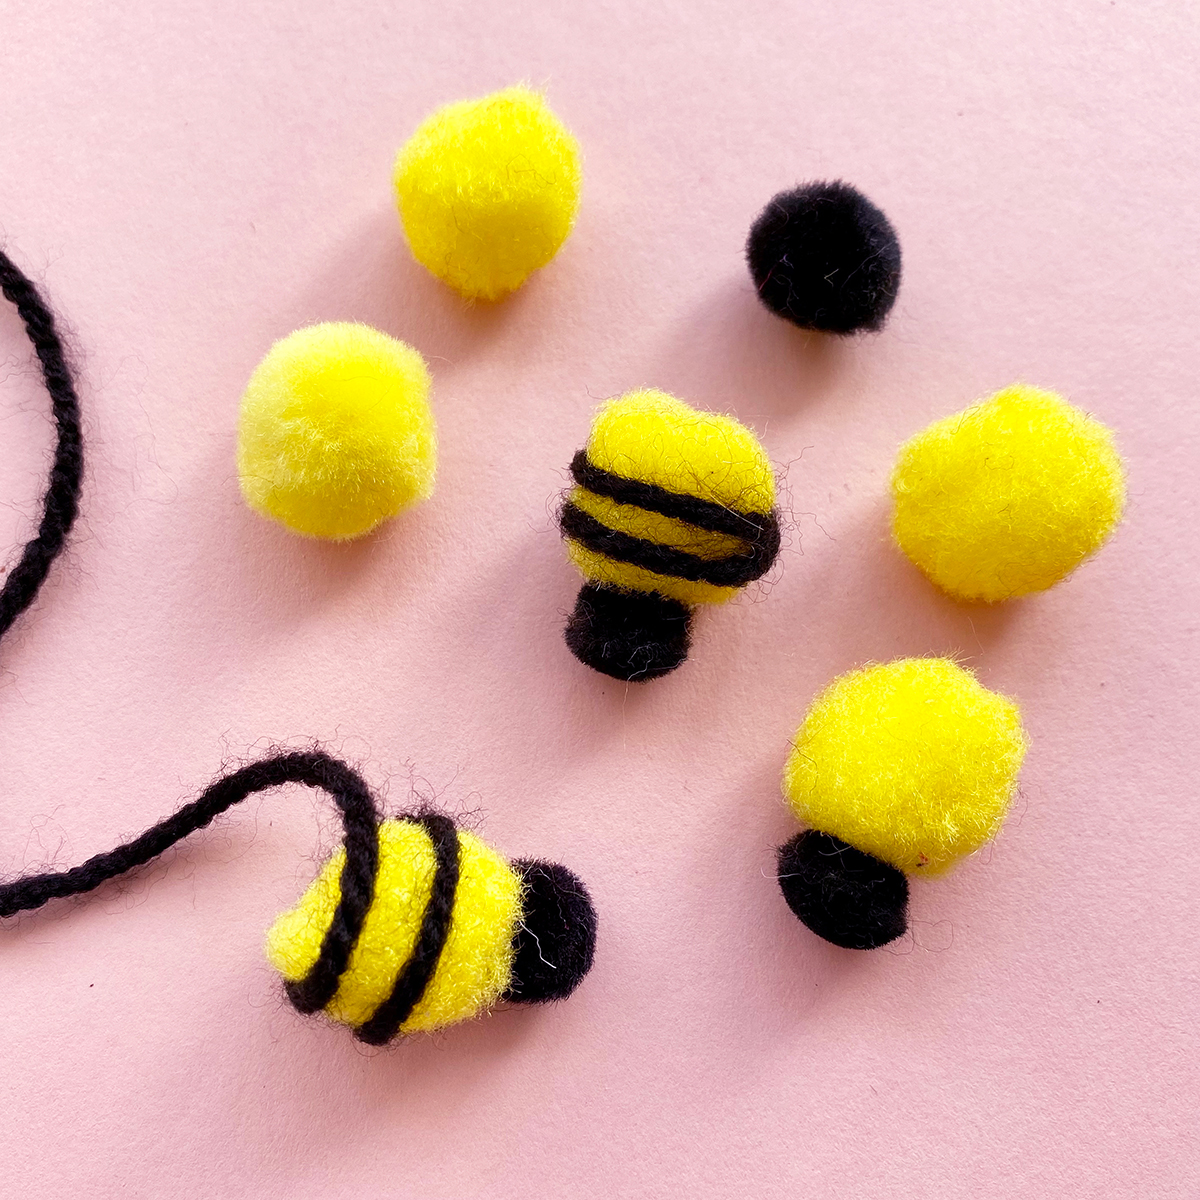
4. To make the fuzzy bees, first glue the black and yellow pom poms together. Wrap a small length of black wool around the middle of the yellow ‘body’ sections twice and glue this in place.
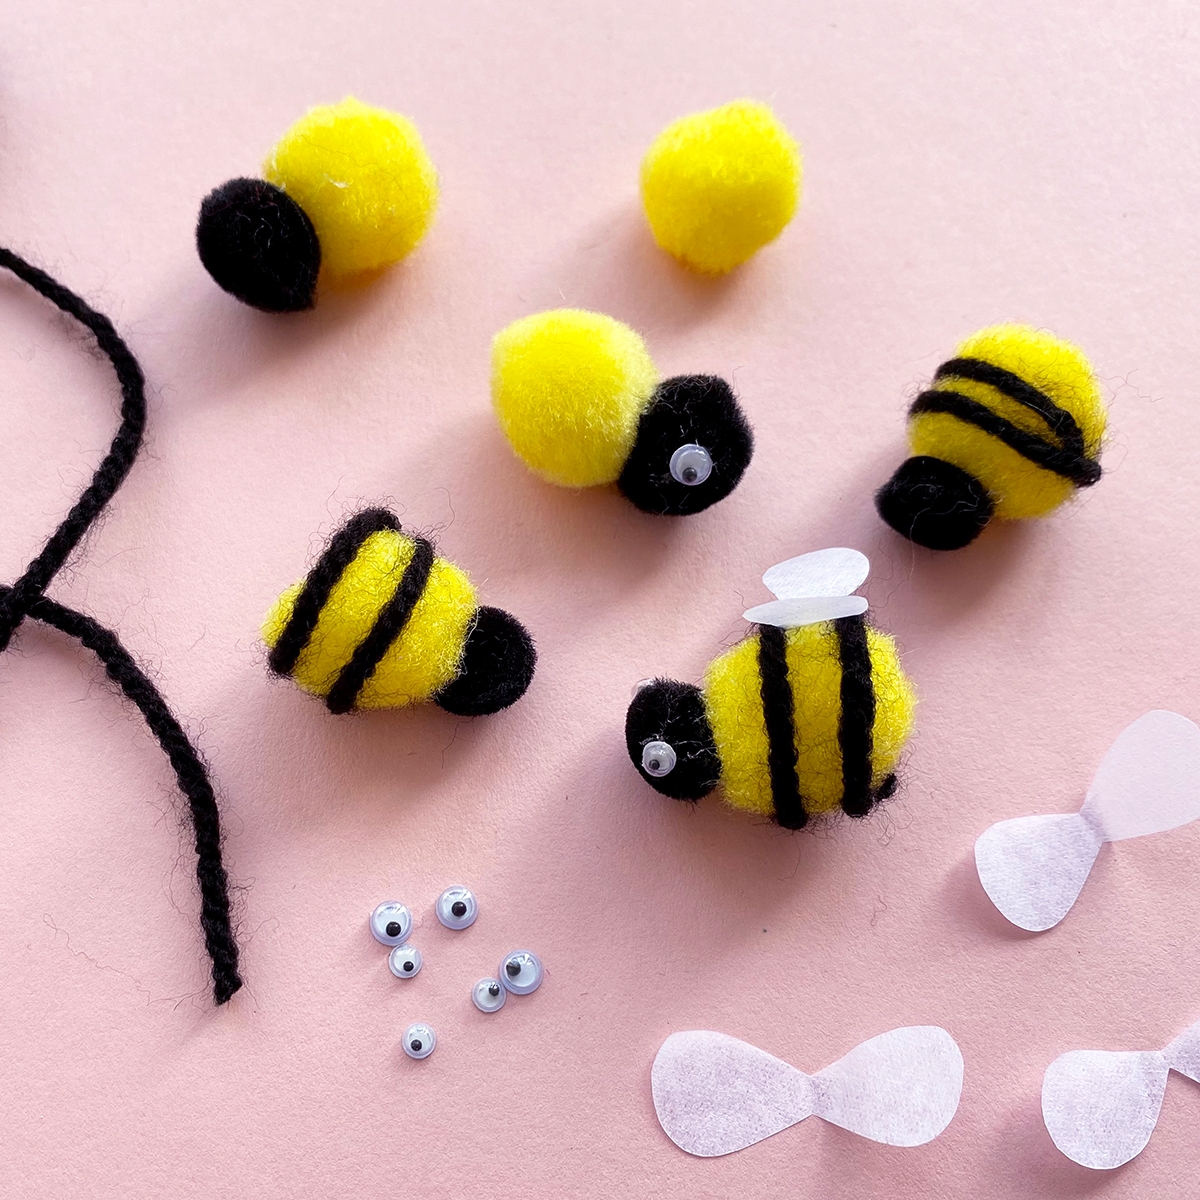
5. Then, cut out some white tissue paper ‘wings’ and glue those to the tops of each bee. Add some small wiggle eyes, and voila – you have some bees!
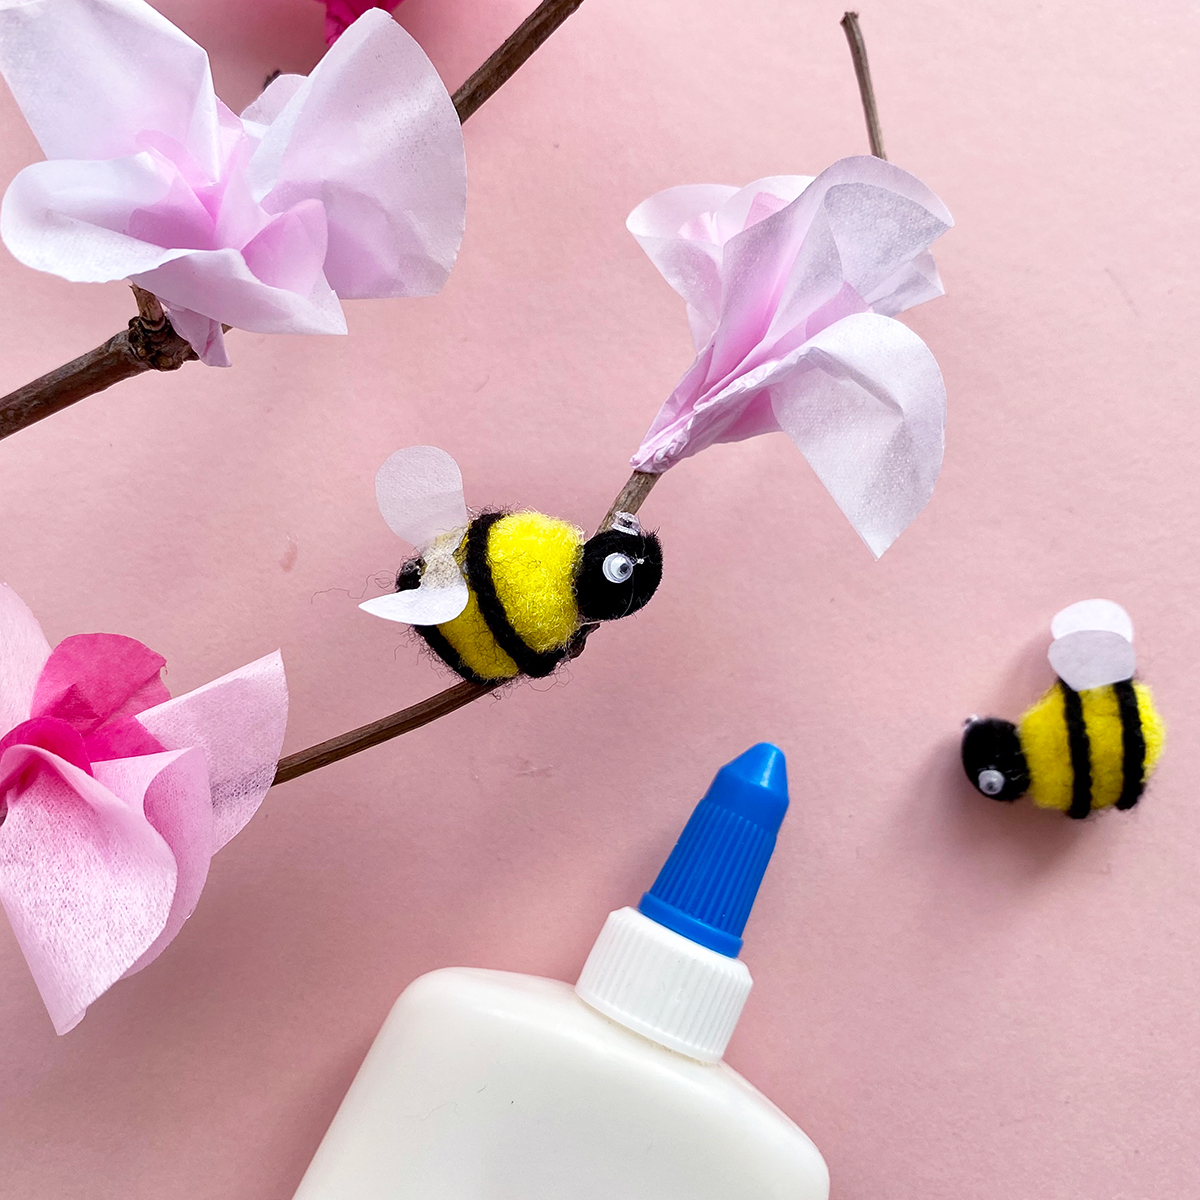
6. Finish off by sticking the bees to the cherry blossom twigs with glue, and then leave to dry before displaying in a vase or jug.
Thanks to Suzie Attaway for putting together this crafting activity! For more fun crafts and styling, check out Suzie's Instagram @craftpropstylist